
The Latest KB5003214 Windows 10 Update Causes Taskbar Issues
1 junio, 2021
How to Password Protect Your USB Drive: 8 Easy Ways
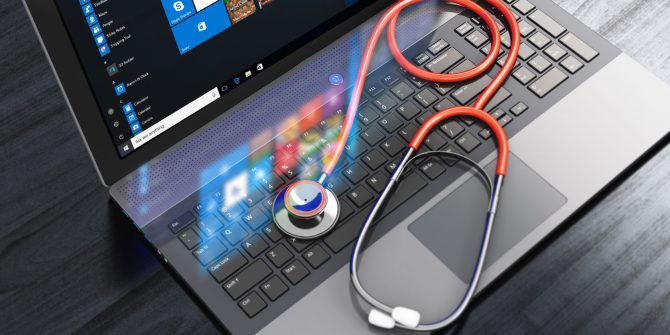
1 junio, 2021How to Check the Health of Your Windows 10 PC or Laptop
Cómo verificar la salud de su PC de Windows 10 o computadora portátil
Just like you look after your own well-being, it’s important to take care of your Windows 10 computer. The best way to determine your computer’s health is by running different reports, such as the ones generated by Windows Security and Performance Monitor.
Here’s how you can run a complete PC health check, then use these reports to know how your hardware is performing, along with some tips and resolutions for specific issues that may need fixing.
How to Check PC Health With Windows Security
If you want a quick, user-friendly overview of your system health, Windows Security can provide it. To launch the program, do a system search for Windows Security.
Once opened, click Device performance & health. The Health report section is split into different areas, flagging any issues and what the resolution is.
Windows Security scans periodically in the background, as shown by the Last scan date, so there’s no need to run this manually.

The health report covers:
- Storage capacity: If your system has enough disk space to complete tasks like Windows update.
- Battery life: If anything is shortening your battery life, like your brightness settings.
- Apps and software: If anything installed needs updating or is failing.
- Windows Time service: If your clock is out of sync or disabled, which can impact internet connection and cause other issues.
If these are all fine, they will be marked with a green check. Otherwise, an amber check will indicate that you can click to find out what the specific problem is and how to fix it (with the ability to run an automatic troubleshooter in some instances).
How to Check PC Health With Performance Monitor
The Performance Monitor utility comes with Windows 10 and is an advanced tool to track elements like disk, memory, and network usage. You can launch it by doing a system search for Performance Monitor.

You can generate two reports with Performance Monitor: System Diagnostics and System Performance.
To create these:
- From the left-hand pane, expand Data Collector Sets > System.
- Right-click both System Diagnostics and System Performance and click Start.
- Each report can take around a minute to complete. Once ready, you can access them through Reports > System. The report names contain the date they were generated.
For guidance on reading these reports and other advanced tips on using this utility, check out our article on how to use Performance Monitor like a power user.
How to Check Battery Health With a Sleep Study
If your system supports the sleep state, you can run a report to assess your battery’s health and understand how it is being used. This is helpful to identify apps or devices that are using lots of power, perhaps unnecessarily.
You can run it on a desktop to check your computer’s power cycle, but obviously, it’s better served for laptop users. For those people, the report can be useful to illustrate how many cycles your battery has been through, which means how many times the battery has gone from dead to a full charge.
To begin, you need to open an elevated Command Prompt. Press Windows key + X and click Command Prompt (Admin).
The Sleep Study doesn’t exist as an accessible utility on your computer, so we can use a command to generate an HTML file of the report. To do so, input this into Command Prompt:
powercfg /SleepStudy /output %USERPROFILE%Desktopmysleepstudy.htmlThis will output a file to your Desktop called mysleepstudy.html. Feel free to adjust the command to a different file path or file name.
By default, the Sleep Study will cover the last three days. To specify the number of days, input the following command, switching DAYS for a figure up to 28:
powercfg /SleepStudy /output %USERPROFILE%Desktopmysleepstudy.html /Duration DAYSNavigate to your Desktop and open the file to view your Sleep Report in your web browser.

The report gives you information about your machine and battery, a battery drain chart, and details on each standby session. You can see how long each session lasted, the energy consumed, and how much time was spent in a low power state.
The report lists the top five offenders for battery drain, but interpret this carefully. High usage is not necessarily a problem because it depends on what you were doing in that session. For example, if you install Windows updates, play music, or have Bluetooth devices connected, all require ample battery.
How to Check Wireless Network Health With a Network Report
You can generate a Wireless Network Report on Windows 10 to see the wireless connection history for your system from the last three days. This is a good way to find out how your connection is being used and what might be causing problems.
Press Windows key + X and click Command Prompt (Admin).
Input the following into Command Prompt:
netsh wlan show wlanreportThis will output an HTML file. To view it, press Windows key + R to open Run, input the following and click OK:
%ProgramData%MicrosoftWindowsWlanReportwlan-report-latest.htmlThis will open the report in your web browser.
The chart at the top gives a summary of the connection sessions available in the report. You can click a letter to jump to that specific section. The most pertinent ones are those in red, which indicate an error.

Also, look at the Disconnect Reasons table to understand why your network dropped out. It might be because you disconnected it, which is fine, but other problems can be listed here, like if the driver failed or the network was unavailable.
How to Diagnose Other Windows 10 Issues
You don’t need to run these health reports all the time. If you encounter consistent errors or notice your computer slowing down, it might be because your hardware is failing, so it can be useful to run these reports to determine the problem. Remember, Windows Security will actively notify you if there are general health problems.
Image Credit: scanrail/Depositphotos

Read Next
About The Author


