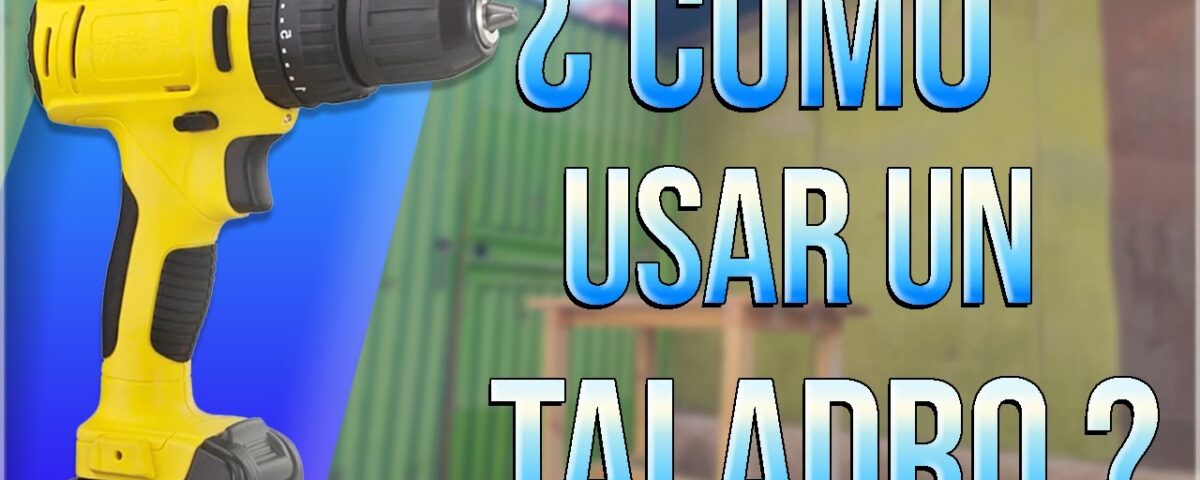
From wall-mounting televisions to disassembling various electronic gadgets, most DIY projects are incomplete without a cordless drill. However, these aren’t simply corded drills retrofitted with battery packs. On the contrary, modern cordless drills are fairly complicated devices that also double as electric screwdrivers.
However, using this tool is a bit more involved than an ordinary corded drill. The bells and whistles may improve functionality, but the added complexity also makes it easy to use a cordless drill improperly. If you find the myriad settings and operation modes of a cordless drill intimidating, we have you covered.
Remember, Your Cordless Drill Is Also a Screwdriver
Cordless drills are significantly more expensive than their corded counterparts. The added expense comes in the form of battery packs as well as a complicated clutch system that makes it possible to vary torque output. The latter is critical for driving screws—a functionality present in virtually all cordless drills.
Your average cordless drill is technically a drill driver, which combines the functionalities of a drill and an electric screwdriver. Virtually all cordless drills allow the operator to choose between two or more speeds. Driving fasteners is a low speed/high torque affair, so be sure to select the lowest speed setting for the task.
Why Does My Drill Have a Clutch?
The clutch mechanism allows the operator to control the maximum torque exerted by the drill. Most cordless drills typically have 20 or more clutch settings. Controlling the depth to which screws are driven is a matter of adjusting the clutch dial, which involves twisting a collar adjacent to the gearbox.
The clutch simply slips once the rotational force exerted by the drill exceeds the preset value. This makes it possible to prevent screws from being stripped or otherwise driven too deep into the material. Is it too late for this advice? Our stripped screw removal guide will show you how to salvage the situation.
Conversely, limiting the applied torque with a clutch also prevents the drill from kicking back and twisting your arm when drilling larger fasteners.
How to Determine the Correct Clutch Setting
Determining the correct torque setting is a matter of trial and error. Therefore, it is recommended to experiment on a piece of scrap material beforehand. Begin driving in fasteners with a low torque range and make your way up until you have zeroed in on the clutch setting that gives optimal depth.
Always use lower torque ranges to fasten smaller screws and when dealing with softer materials such as pinewood and MDF.
In addition to a clutch, these tools are also fitted with either mechanical or electronic brakes. This allows the drill to stop spinning near instantaneously after the trigger is released. Without brakes, the drill will damage both the screw and workpiece as it continues to spin after trigger release.
If you find yourself dealing with delicate tasks involving 3D printers and RC vehicles, you are better off reading our guide on specialized cordless screwdrivers.
Difference Between a Drill and Impact Driver
It’s easy to confuse a cordless drill driver with a cordless impact driver. The former is optimized for making holes, whereas the latter is designed to efficiently drive fasteners into extremely dense materials. While a drill applies constant rotational force on the bit, an impact driver rotates the bit by hitting it with hammering impulses about 30,000 times a second.
Just like hammering a nail into a piece of wood takes less effort and time than simply pushing it in, an impact driver is also significantly better than a drill driver at driving large fasteners into hardwood. However, that also makes it suboptimal at drilling holes—a task that doesn’t demand a large amount of torque. Furthermore, an impact driver is quite likely to damage delicate electronics.
Mind the Hammer Mode
Then there are cordless drills sporting the hammer functionality. Unlike the impact driver, hammer drills apply their hammering action along the axis of rotation. It’s a lot like hitting the back of the drill with a hammer to lend a helping hand while it is boring into concrete. Except, this happens at a rate of 30,000 beats per minute in a typical hammer drill.
The hammer mode makes short work of drilling into tough materials, such as masonry and concrete. However, it should never be used with fasteners. Doing so will damage everything, including the driver bit, fastener, and also the equipment that needs fastening. Most cordless drills make it impossible to select the hammer mode along with the clutch, but not every drill has such safeguards.
How to Use a Cordless Drill
With the basics covered, let’s learn how to use a cordless drill by undertaking a real DIY endeavor. We will be making a computer trolley by attaching four casters to some plywood. Nothing fancy, but this should drill in the concept of drilling holes and driving fasteners with your cordless drill.
1. Use a Punch to Improve Accuracy
Be it wood, metal, or masonry, a drill bit tends to wander off the intended location. A center punch is a handy tool that makes a shallow indentation that acts as a guide, preventing the drill bit from straying off the mark.
2. How to Use the Drill Chuck
Virtually all cordless drills incorporate modern keyless chucks. Securing drill and driver bits into one is a simple matter of rotating it clockwise to fasten and anti-clockwise to loosen. Nicer cordless drills include chucks with a ratcheting mechanism that makes it easy to tighten the chuck reliably.


Just be sure to center the bits, as smaller ones can get caught off-centered in the jaws. It’s also a good idea to refrain from bottoming out the drill bit completely within a chuck. Leaving some space allows the bit to be held square in the chuck.
3. Use Tape to Set the Depth Stop
It’s easy to drill right through the workpiece while drilling pilot holes for screws. More expensive cordless drills ship with integrated depth stops. However, you can also use a piece of tape to mark the depth of the screw on the drill bit itself.
4. Always Drill Pilot Holes
Pilot holes are absolutely necessary for driving fasteners into wood. Brute-forcing screws considerably increases the chances of splitting the workpiece. Most fasteners specify the size of the drill bit required for this purpose, but you can also eyeball this by placing the drill bit directly in front of the screw.
The ideal drill bit size should cover the shaft (minor diameter) of the screw, without occluding the threads (major diameter).
5. Which Speed to Use?
All cordless drills offer at least two speed settings. The lowest speed setting is ideal for driving fasteners. Low to intermediate speeds are conducive for drilling into metal, because high speeds can overheat and dull drill bits in this material.
Drilling into wood, masonry, and concrete is best done at high speeds. Drilling at a slow speed is ineffective for masonry and concrete, whereas doing so also causes the bit to gouge into wood.
6. Remember, the Trigger Is Proportional
In addition to the selectable speed settings, all cordless drill triggers incorporate proportional speed control. This allows the operator to spin the drill slowly by barely squeezing the trigger. A slowly rotating bit is less likely to stray off the mark.
7. Use Gentle Pressure While Drilling
It’s tempting to push the drill towards the hole being drilled, but that puts unnecessary strain on the motor and the gearbox for no real gain. Let the bit cut its way through wood, masonry, and concrete on its own accord. Only a light (but constant) axial pressure is required to ensure the cutting edge remains in contact with the material being drilled into.
Metal is the only exception to this rule. It needs a greater amount of pressure for optimal drilling. Supplying lubricant to the drill bit is also essential.
8. Set Clutch and Speed for Fastening
With the pilot holes drilled successfully, don’t forget to set the gearbox to the lowest speed setting. This is important to safely secure the casters onto the workpiece with screws.
We had already practiced on a piece of scrap plywood to determine that the clutch setting of three is optimal for securing the casters.
9. We Are All Done
Just like that, your computer trolley is ready. Slapping a few casters onto a piece of plywood is all it took to drill in the basics of operating a cordless drill.
Knowing Is Half the Battle
The inherently multi-role nature of a modern cordless drill makes it significantly more complicated. However, knowing how each drill feature and setting affects different materials and drilling/driving characteristics should give you the confidence to tackle any DIY project that requires a cordless drill.


