

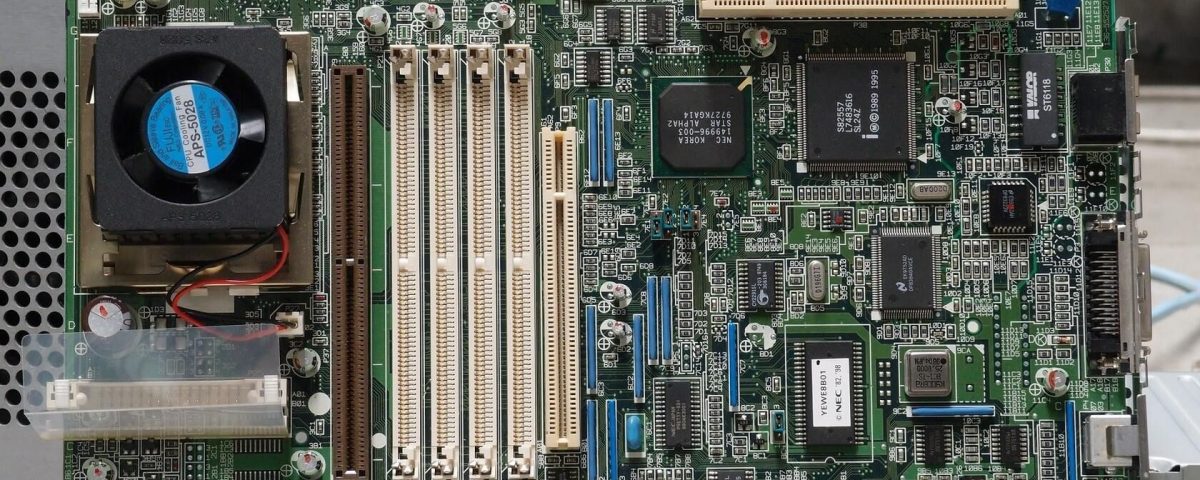
If the processor is the brain of your computer, the motherboard is the heart—it’s the place where the different parts of a computer connect and talk to each other. So if your motherboard has a problem, it’s a bigger issue than just replacing one part.
Usually, motherboards are sturdy enough to take the ravages of daily use. But there are some things you can do to make sure it keeps running right. Protecting the motherboard from damage is paramount to protecting every other component.
Avoid some of these common mistakes that damage a motherboard, and you’ll save yourself from headaches.
1. Check for Short Circuits

This problem is more prevalent in desktop computers but also (yet rarely) occurs in laptops. Whether you like to build your own PC or buy one assembled from somewhere, there are chances of a short circuit if it hasn’t been assembled properly.
The motherboard conducts electricity and passes it to other components, so it can’t come into contact with any metal, like the case itself or a badly fitted component. Loose CPU coolers often cause irreparable damage to motherboards. Also, check for loose cables, a common PC maintenance mistake.
In the course of assembling your PC, you need to fit the motherboard properly in the case. The motherboard has a few screws that you use to attach it to the case. Make sure you use every screw and that it is tight. A single loose screw can fry a whole motherboard—it does happen!
In short, the inside of your computer should be neat and organized. If the motherboard ends up getting into contact with an unintended object, it can cause a short circuit.
2. Protect Against Power Surges

The motherboard is where your computer’s power supply unit (PSU) is connected. It’s important to buy the right PSU for your needs—if your components need more power than the PSU can provide, it will cause the components or the motherboard to fail.
But the more frequent problem for motherboards is power surges. Some electronics in your home are power-hungry, like air conditioners or refrigerators. Have you ever seen your lights flicker when these devices turn off? That’s because they needed to draw more electricity and caused a surge.
When they switch off, the current takes a few seconds to adjust. And in those few seconds, it gets redirected to other electronics, like your lights or your computer. This is the most basic explanation of a power surge. It happens more often than you think, depending on your power setup, your locality’s power grid, and even weather conditions (like lightning).
Most power supply units and motherboards adjust their voltages to accommodate small power surges. But if it’s a big one, it can fry your motherboard and all the components connected to it. It’s a big issue and one of those that we never tend to account for adequately. The only solution is to buy a surge protector for your computer.
3. Clean the Ventilation Outlets

Heat is the enemy of electronics. Computer components need to stay cool to run properly. But they generate a lot of heat themselves. That’s why heat dissipation is crucial to computers, whether it’s in the form of fans or heat sinks.
If your laptop regularly runs hot, you need to clean its ventilation outlets. Heat can cause the motherboard to warp. Now, we aren’t talking about it getting fully bent out of shape. But even small bends can affect stress points like screws or connectors.
Remember, a loose or improperly fitted connection is a ticking time bomb for your motherboard.
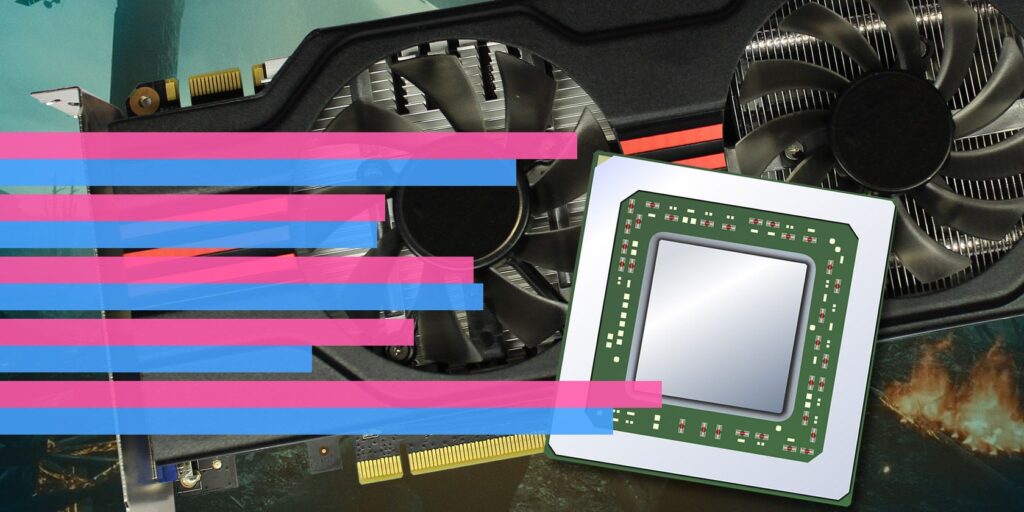
4. Incompatible Components

Another mistake that some users make is trying to install incompatible or low-quality components on a motherboard. Before assembling a PC, it is essential that you double-check whether all the parts are compatible. There are a plethora of websites that allow you to check for compatibility issues.
Also, ensure that you buy good quality parts for your motherboard. If you’re planning to build an expensive computer, don’t cheap out on components such as high-quality RAM or a good PSU.
As mentioned earlier, heat is the enemy of computer components. Keep this in mind when buying parts such as graphics cards. Some graphics cards have a higher affinity for overheating due to fan design and other factors. Avoid these if you can.
5. Improper Handling

Motherboards are easy to damage during installation due to careless handling. If you assemble your own computer, make sure you have an anti-static wristband and an anti-static mat at hand.
Always keep your motherboard on an anti-static mat when handling it. A single static shock can cause irreversible damage to your motherboard.
Another important thing to keep in mind is to avoid touching the circuitry on the motherboard. Whenever you’re lifting it, hold it using the edges. Furthermore, during installation, screw the motherboard by applying equal pressure on all corners, i.e., don’t tighten a screw completely before moving on to the next one.
How to Check for Motherboard Damage
A damaged motherboard isn’t as simple to diagnose as other parts of a computer. Generally speaking, it’s apparent when your computer has a hardware error, like not booting up. But you can’t narrow it down to the motherboard immediately. That said, there are a series of steps you can take to figure out motherboard damage.
- Switch on the PSU and check for a green light on the motherboard. If there is no green light, the problem is with either the power supply or the motherboard. Check with a different PSU, and if the motherboard still doesn’t light up, it’s probably damaged.
- If the green light is coming on, check the bare basics of your PC components, i.e., the CPU and RAM. Connect only these two components and see if the motherboard is booting into the BIOS or UEFI.
- If it is still not booting, check the CMOS battery on your motherboard. If your computer is more than a few years old, chances are the battery may need to be replaced.
Fix Motherboard Errors
All modern motherboards come with error lights that blink when the motherboard encounters an error or a component is malfunctioning. These error codes vary from manufacturer to manufacturer, but there are some general troubleshooting tips that you can use to fix your motherboard.

Read Next
About The Author


