

The Power Menu (otherwise known as the WinX menu, due to its shortcut) is a useful context menu that allows you to quickly access certain Windows features. But what if it doesn’t include a shortcut to the feature you want? Luckily, you can add shortcuts to it using a free and lightweight utility known as hashlnk.
We’ll show you how to download and use hashlnk to add shortcuts to your favorite Windows features on the Power Menu.
How to Download hashlnk
The hashlnk app lets you add shortcuts to the Windows Power menu. To get started, go to the hashlnk download page on GitHub and click Download.

This will download a ZIP file. To unzip the file, right-click it and select Extract All. Then, click Extract to extract its contents to the same folder you downloaded it in.

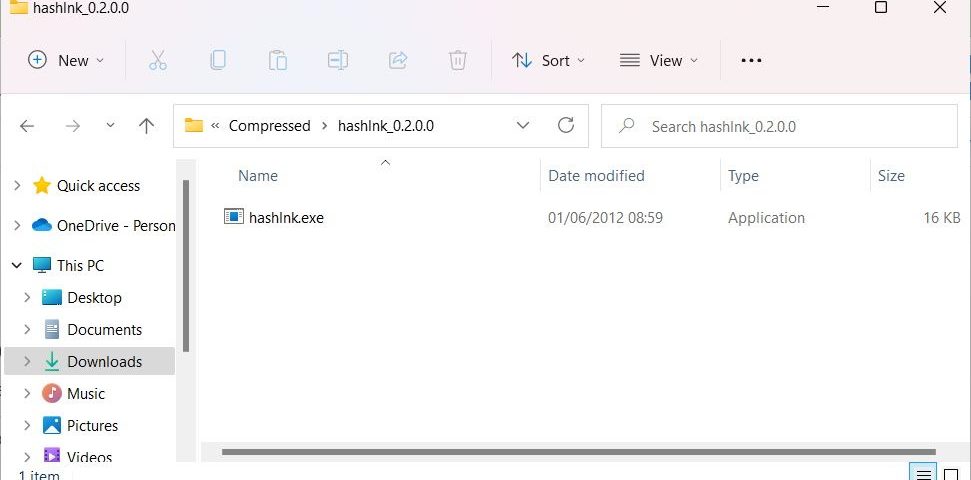
Open the extracted folder, and you’ll see a single file in it called hashlnk.exe.

Don’t close this window, as we’ll need it for the next part of this guide.
The first thing you need to do is create a shortcut for the app you want to add to the WinX menu.
Press Win + S to bring up Windows Search and type the name of the app or Windows feature in the search box (we’re using Control Panel for our example). When it shows up in the search results, right-click it and select Open file location.

You’ll be taken to the folder where the app’s shortcut is located. Keep this window open as well.

Next, open Windows Run by pressing Win + R. Then, copy and paste the following text into the text box and hit the Enter key:
%LocalAppdata%MicrosoftWindowsWinXThe WinX folder will open, and you’ll see three subfolders inside it named Group1, Group2, and Group3. These groups indicate how items are arranged in the Power Menu. So Group1 is for the bottom items, Group2 is for the middle ones, and Group3 is for the top ones.

Now, copy the app’s shortcut and paste it into any of the WinX subfolders mentioned above (we copied the Control Panel shortcut and pasted it into the Group2 folder).

The shortcut won’t show up in the Power Menu just yet, as the menu only displays a special type of shortcut that hashlnk will help us create.
The magic will happen in Command Prompt. To open Command Prompt, press Win + R to access Windows Run, type cmd in the text box, and hit the Enter key.

Next, we’ll need the file path to the hashlnk utility. On Windows 11, go back to the folder with the hashlnk.exe file, right-click it, and select Copy as path.

On Windows 10, in the extracted hashlnk folder, make sure you’ve selected the Home ribbon in the top menu of File Explorer, and then click on hashlnk.exe to select it. Then, click Copy path, which you’ll find in the Clipboard section of the ribbon.

Paste the hashlnk utility’s file path in Command Prompt by right-clicking anywhere inside the cmd window.
Next, copy the file path of the app’s shortcut (Control Panel) you pasted in the WinX subfolder (Group2 in our example) and paste it into Command Prompt as well (make sure there’s a space between the two file paths).
On our end, the final command looks like the screenshot below. Keep in mind that your file paths won’t be exactly alike, but the screenshot should give you an idea of the final output.

Hit Enter to run the command.
Restart your computer. When it reboots, check the Power Menu and you should see the newly-added shortcut there. To remove it, delete the shortcut from the WinX subfolder you placed it in.
If the Power Menu lacks a shortcut you feel should be there, you can easily add it to make your life easier. Using the hashlnk tool is one of the best ways to go about it, with a little know-how.
If you want a more graphical approach to adding shortcuts to the Power Menu, consider using an app like the WinX Menu Editor app instead.


